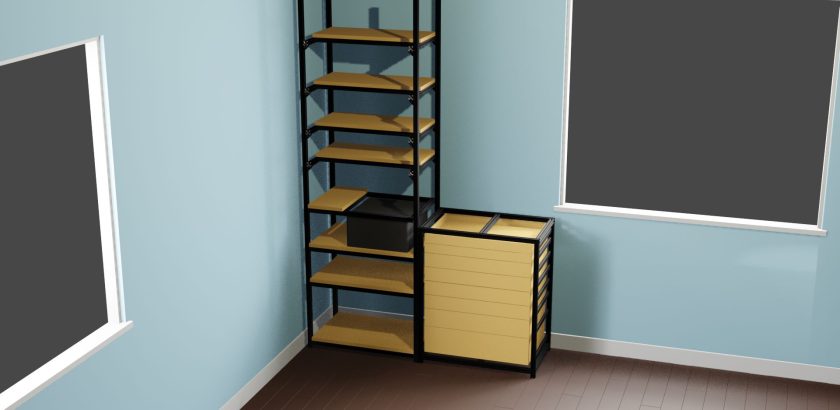
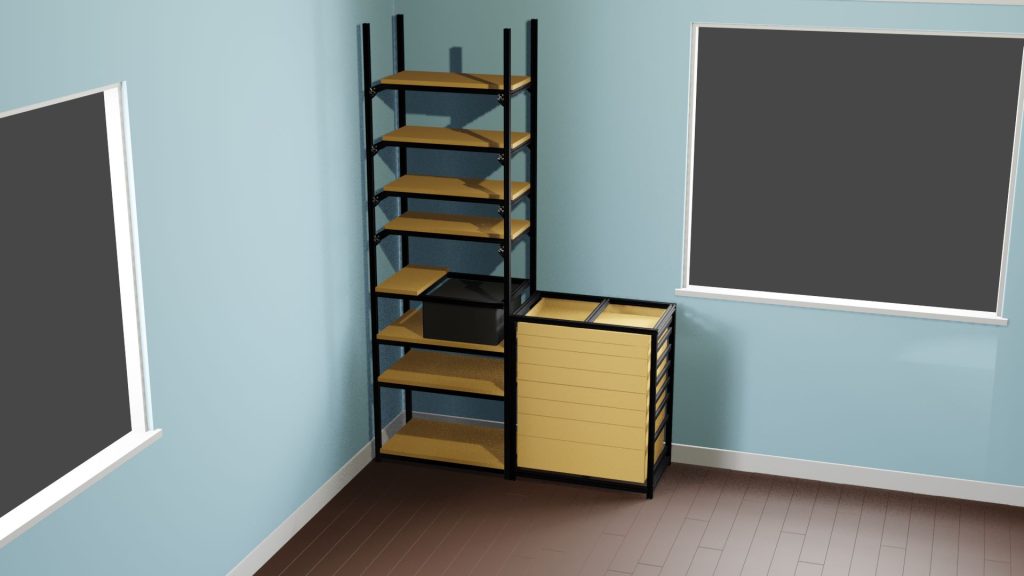
When we first moved into our house I had a grand scheme of a whole design of shelving made with black aluminum T slots and finished plywood shelves. It would be super sweet and have two main parts: A tall combination storage/book shelf, and a shorter stack of very slim shelves somewhat like a lightweight toolbox. It would be expensive but also easy to assemble and very flexible because of the precision machined aluminum t-slots. Easy right? As always, the first step is to crack open Blender and get to modeling.
Materials
Buying materials is easy and fun. So fun in fact that in many cases it can satisfy most of one’s desire to imagine oneself having finished a project. Surely if the materials are easy to hand you can work on the project in little bits when it’s convenient! I sourced my aluminum from tnutz.com and the plywood from one of the big box stores, I don’t remember which one. A combination of naming conventions and a small little python script in blender gave me the BoM I needed to order my aluminum parts. Just starting with the shelves on the left, the aluminum and wood came out to almost a grand. Expensive yes but also fairly in-line with any other solid wood shelf offering I found online for that size. It’s expensive to have furniture made of non-composite material. But this one has the added benefit of being extensible and modular so I figured it was worth it.
Shelf Frames
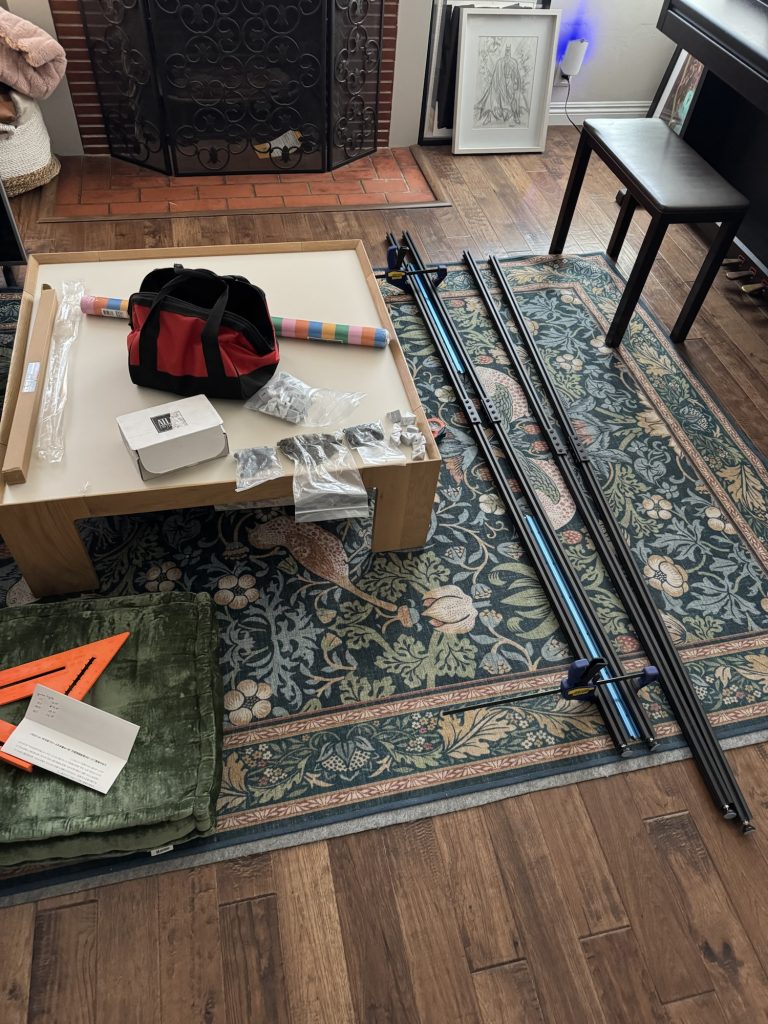
To t-nutz’ credit the extrusions and hardware were all shipped neatly and wrapped with care. The long legs are actually two four foot lengths fixed together with mending plates because I didn’t want to pay freight rates for shipping 8′ segments. The general design is:
- Four legs made of two four-foot straight extrusions, bolted together with two mending plates sat on the outside edges.
- Shelves supported on the underside by frames. The frames themselves are supported by right-angle gussets which are fastened to the legs.
- The frame pieces are joined together by hidden inside-mount brackets.
- The shelves are fastened to the frames with three screws, drilled through the face of the shelf and countersunk to be level – two on the sides and one in the center rib.

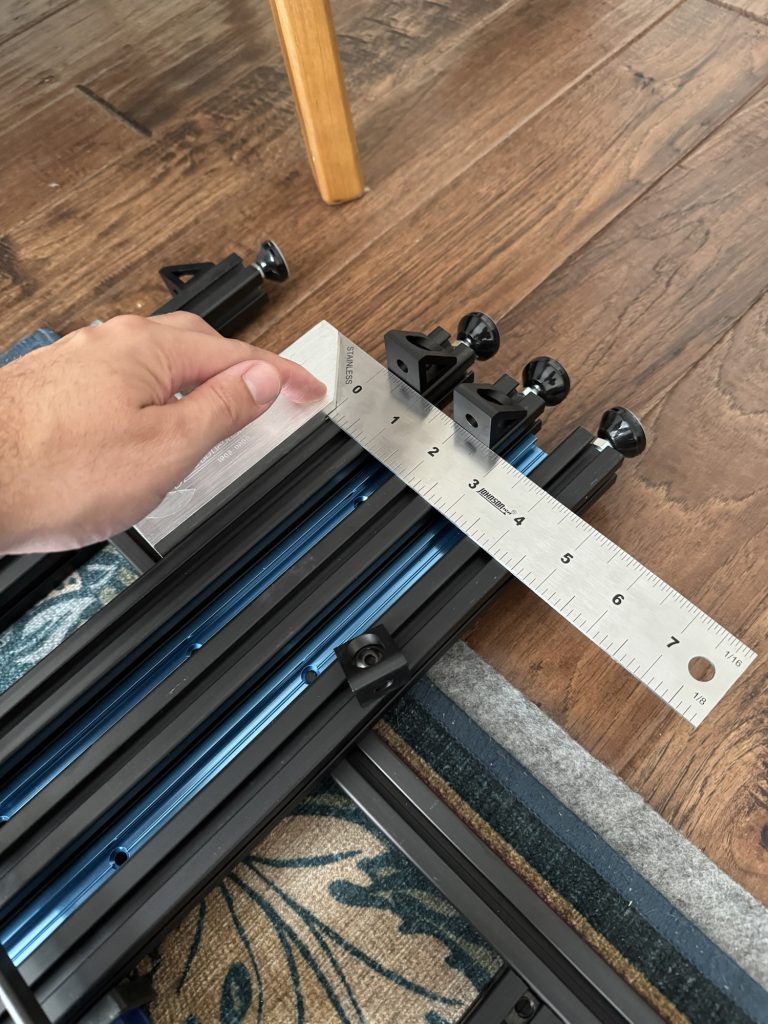
As I recall I pretty quickly assembled the shelf frames. When I went in I assumed the machined 90-degree interior brackets would make squaring them trivial. This turned out to be so wrong.
My experience with t-slots in this project was that it’s actually a little painstaking to work with it – because it’s all rigid metal there is basically no room for slop. You can’t bend anything into place or fudge anything – if your size is off by 1/16″ no amount of squeezing will make the metal fit. Of course I got faster with each frame I put together but this was a lesson learned – t-slot is certainly great for modularity, but assembling it can be non-trivial. Next time I work with it I’ll take a lot of care to consider the order in which I assemble things to make dealing with the t nuts and brackets as easy as possible.

Intermission
After this point the project basically sat stagnant for over a year. I had the four leg posts assembled and just leaning up against the corner of my office, always in view behind me during video calls. Between the house and our baby I just wasn’t finding the motivation to pick this project back up. I think eventually I just got tired of seeing the posts leaning up in the corner behind me, reminding me what a procrastinator I was being.
Shelf Planks
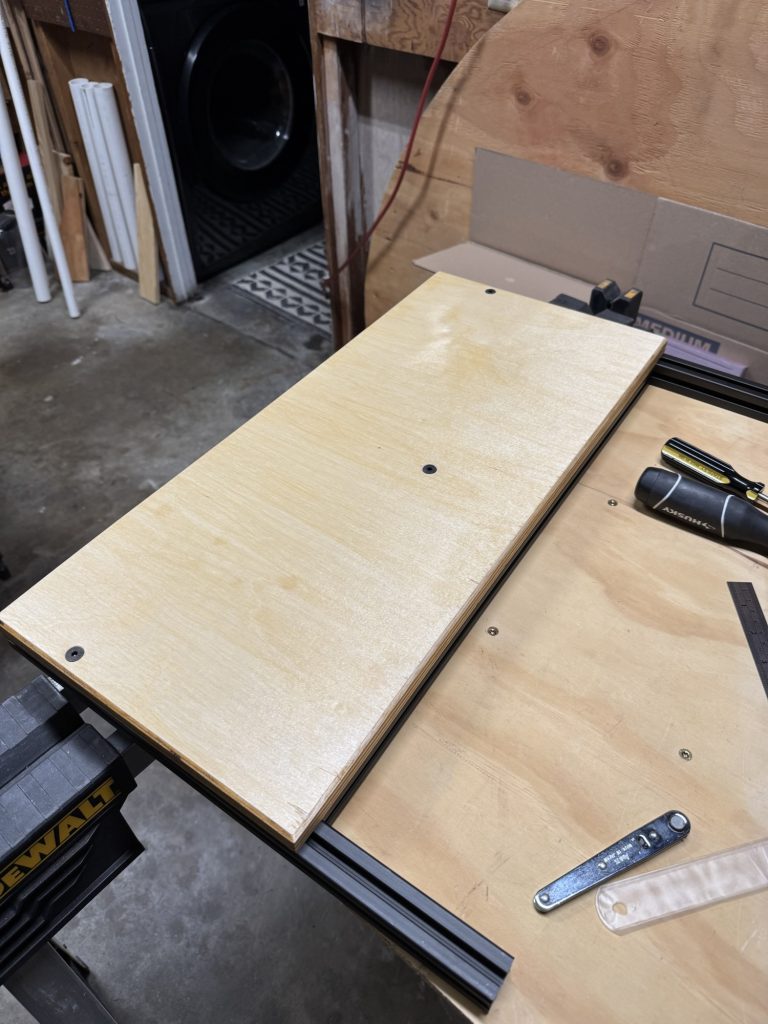
The planks themselves seemed simple enough. The shelves were designed to be precisely 24 inches wide between the posts, which meant I could grab a 2’x4′ plywood board off the shelf and only have to cut it on one axis to make my shelves.
Of course reality isn’t so neat and it turns out the nominal surface dimensions of plywood sheets are close but not exact. Luckily the boards were slightly shorter than 2′ so I was still able to use them as intended, just the bolt holes had to be a little closer to the edge than I had wanted. I do like the striped aesthetic of the plywood layers. Some resources I saw online suggested buying adhesive edge bands, but I didn’t go that route because the stripes look great after staining and sealing, and I wanted to give the shelves a tiny bit of flair by doing a small 45 degree chamfer on the top corner which would have really complicated the band application by requiring trimming.
Drilling and Milling
Almost every woodworking project I do makes me wish I had a drill press. I haven’t given in and bought one yet because space is limited in our garage and it’s hard to justify spending money on it. Once again I made do with my little portable spring-loaded press, which does a pretty good job if you set it up right. It often requires extra support if you need to drill near an edge, which means having material of the exact same height as the material you’re going to drill, but that’s why we never throw our scrap away! My first attempt at drilling the bolt holes resulted in some absolutely barbarous tearout on the backside, far beyond my worst expectation. So a sacrificial board underneath became absolutely necessary and improved hole quality immensely.
The edge chamfer was extremely easy. I buy most of my router bits on amazon from a brand called MNA – which presumably stands for Made ‘N America because that’s one of their big selling points. But they make the small 1/2″ 45 degree chamfer bit that I wanted. This part was super easy and satisfying seeing the chamfer come in. My router is just a little handheld makita with a 1/4″ chuck but it gets the job done for the size of projects that I normally find myself doing.
Staining
Staining wood makes me think that maybe I don’t actually like woodworking. Maybe I just like imagining myself finishing woodworking projects, or maybe I actually like carpentry more than woodworking. Some combination of those is probably true because I find staining to be absolutely dreadful. The results are definitely worth it though.
I used general finishes oil-based gel stain and an oil polyurethane finish for my shelves after a tour of online research. People said the gel is best for plywood which can sometimes have trouble absorbing the stain due to the laminate. The stain was a pretty neutral color and I think I probably could have gotten away without staining the plywood at all. Next time I may consider doing that, or only staining the edge bands where absorption is superior. The edge is the part you see the most anyway once the shelves are assembled. After a multi-day affair of applying one coat of stain and then three coats of poly, the shelf planks were ready to go for full assembly.
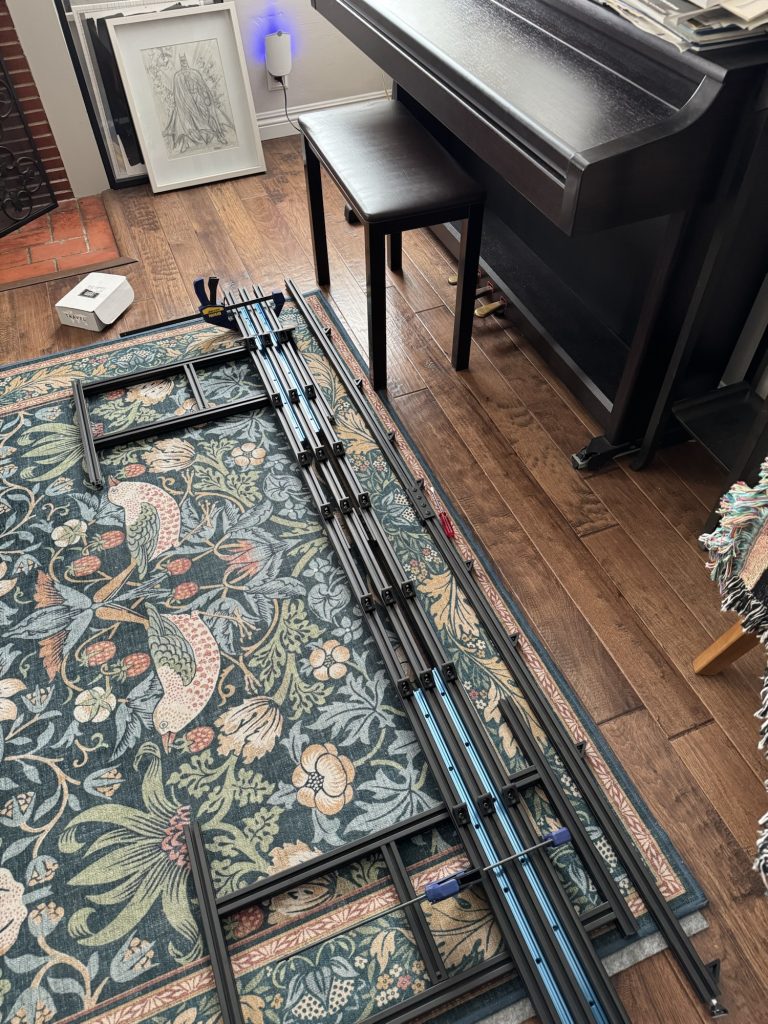
Full Assembly
When it came time to put the assembled shelves onto the legs, I realized that actually fixing the shelves in place was going to be a challenge. I had to start with the bottom shelf to bind all four legs together near the bottom so they would stand on their own. This wasn’t too bad as I was able to do it sideways in an area with space before moving the single-shelf-and-leg assembly into its final position.
The lower shelves were such a pain to get attached. The thing I failed to appreciate about t-slot is just how difficult it can be sometimes to ‘find’ the t-nut with the bolt you’re trying to screw in. Having the t-nut be on the underside of the shelf frames while trying to screw up from the bottom of a small gusset was a miniature nightmare and had my lower back sore and my forehead sweaty in a very short matter of time. My approach was to use a tiny screwdriver to sort of ease the t-nut toward the bolt that I was holding up in place with a tiny ratchet driver. This sort of worked but took multiple tries on most occasions. Adding to the difficulties was the fact that the lighting in our office is set for a programmer and concept artist to work in, so well-lit doesn’t really describe it. I was using my phone light to try to illuminate my work areas from the bottom which only marginally improved the experience. Surely there is a better way.
Of course this problem was a non-factor for the lower shelves, because they were in such a difficult-to-reach position that I was actually fully unable to even reach the back two gussets to attempt to screw the t-nuts in. I just abandoned those attachment points and ended up buying a round of angle brackets from tnutz to fix the shelves to the legs from the outside corner. It’s all black so you don’t really notice the extra hardware and it was ten times easier to screw in.
Thinking about ‘standard’ peg style bookshelves, they mostly rely on gravity to hold the shelf planks in place after they notch onto the pegs. Putting shelf boards on there is extremely easy – maybe there’s a lesson I can take for next time I’m trying to make shelving with t-slots. They probably don’t require four machine screws to bolt them down onto gussets.
Wrapping up
Before calling this project done there were two little things I had to address.
- The unit was very susceptible to yaw even with all of the shelves installed. I went and grabbed two 1/8″ rolled steel flat bars from lowes, drilled holes in the ends of both, and gave them a nice rub down with mineral spirits before applying a couple coats of black spray paint. Spraypainting metal properly requires a lot more prep to strip the coating and everything, but these won’t be moving much so I don’t mind that the spraypaint job I did is fragile. This was a win for the modularity aspect of the t-slot design because I was able to just slide the shelves out, get back behind them and bolt in the cross braces in an x pattern in the back.
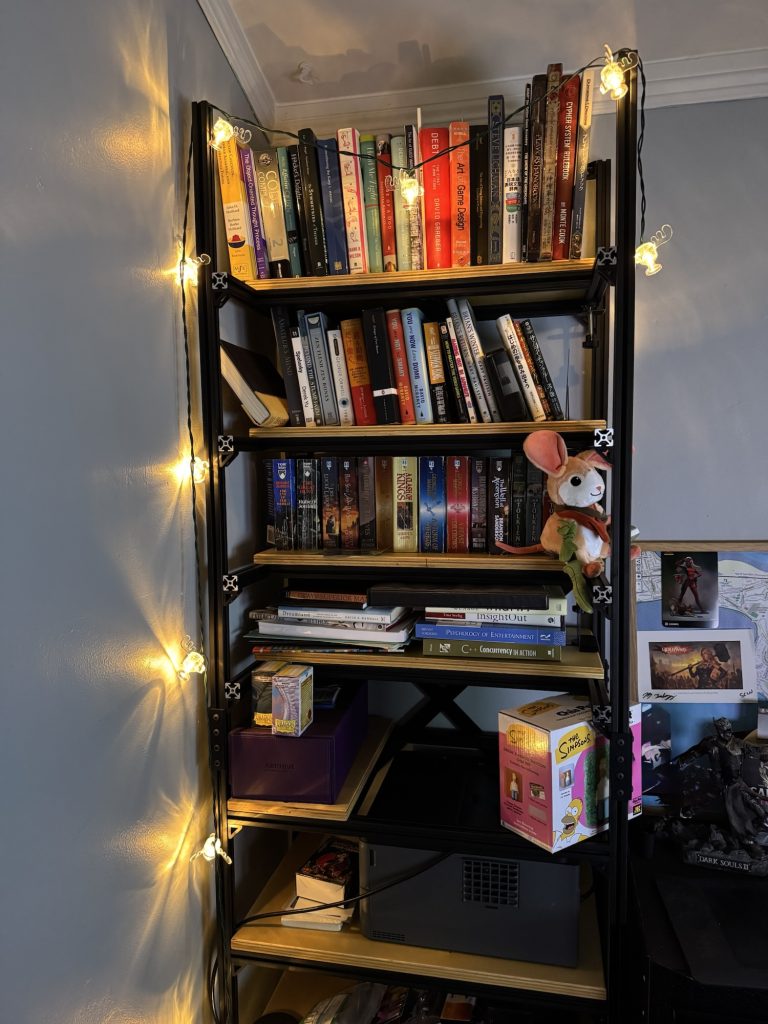
- I could probably have left the shelves free standing, but now that I’m a parent, safety issues nag at me a lot more so I did buy some more gussets as well and screwed them into some drywall anchors at the very top of the back legs. The shelves are quite sturdy now and look pretty attractive.
It feels good to have this project done because it also unblocked me on unpacking a bunch of uhaul boxes full of books that had been sitting behind me for two whole years. I’m pleased with how it turned out. My wife also complimented it which is a big deal. And because it’s modular I’ll be able to expand it in the future if I desire.
Random Notes
Not many this time
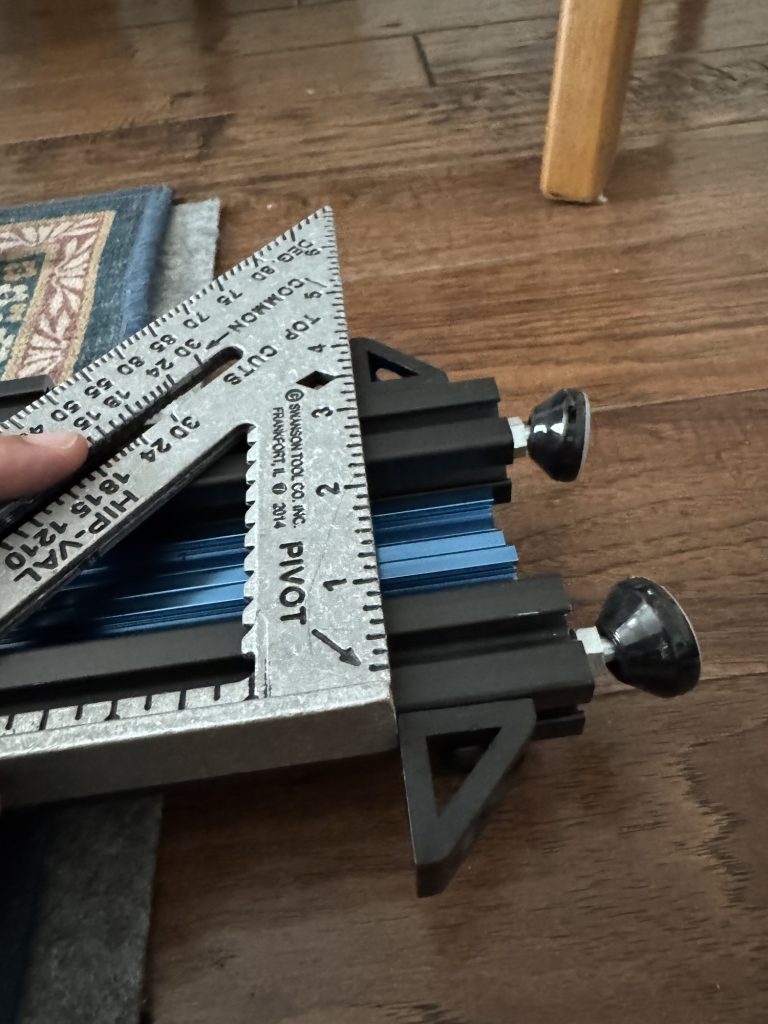
- If aligning a tool is difficult, maybe align the piece instead. I think this is referring to one of the above pictures where I was trying to align my gussets facing away from each other on the side. When I rotated both legs so the gussets were facing up it became much easier to use the speed square to match the gussets together.
- Close enough isn’t close enough for furniture and small scale work. Gotta be exact.
- Double check details and have the right tools. I wasted a whole lot of time on this project by using metric hex bits on my bolts when they were actually SAE bolts. The tiny bit of slop from the ill-fitting hex bit caused me tremendous headache when the bit would constantly get stuck from being slightly too large. Once I realized this and bought some SAE hex bits my life became so much easier.