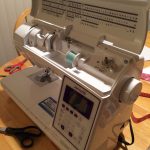
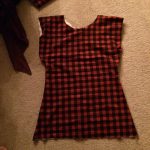
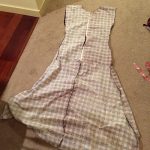
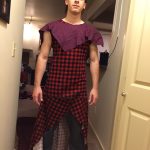
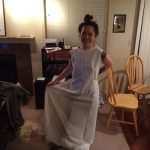
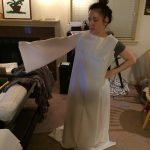
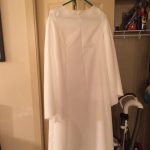
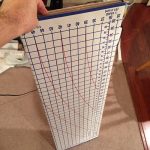
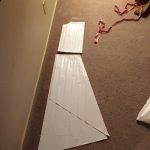
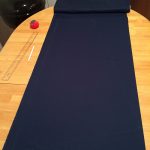
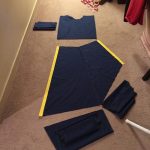
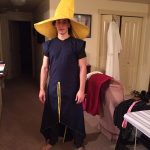
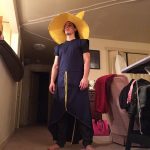
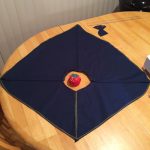
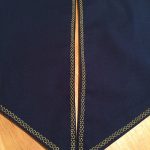
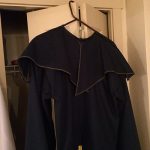
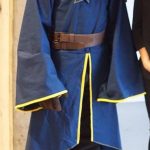
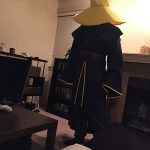
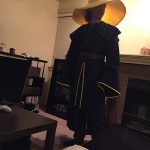
For Halloween this year, Naomi and I decided to get a sewing machine and do up some costumes on our own. Figured we’d start with something “simple” like white and black mage costumes! With only a week to go before Halloween. I crunched pretty hard on my costume, and it was fun in a miserable kind of way. Learned some lessons about sewing and ultimately ended up with a decent result, though it’s missing a few key features like the collar. I thought I’d be willing to come back and revisit the costume, but I’m so burned out I’ve even procrastinated until now on the blog post about it.
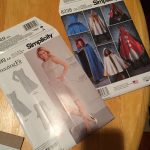
Naomi ended up not finishing her work on the white mage costume. Other things had to take priority. She was on the right track though, and unlike me wisely followed an existing pattern instead of making everything up herself.
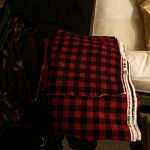
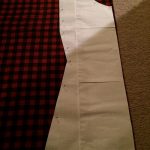
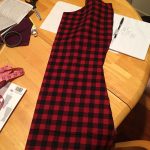
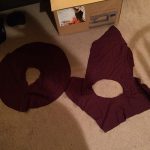
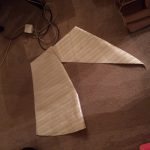
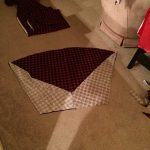
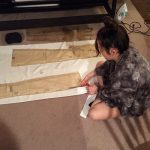
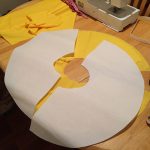
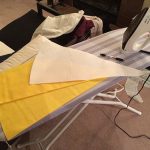
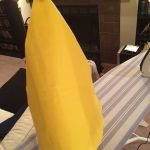
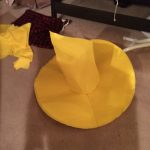
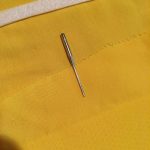
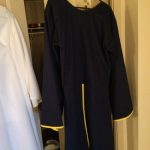
The belts and gloves were cheap items from Nordstrom Rack. Wasn’t able to find any shoes, and definitely didn’t have time for the pants although I did buy fabric for them. The collar would have really made the costume recognizable but by the time I got to where I did I was so tired I just couldn’t work on it anymore. Oh well, lessons for next time. The images are in chronological order so hopefully they give a reasonable plot summary of how development went. On top of that there are some tailoring takeaways from this experience.
- The importance of overcasting cannot be overstated. All of the ends of my seams were unraveling severely and I thought the entire costume was going to tear itself apart. I looked at one of my t-shirts to see what they did. After realizing what overcasting was (stitching over the side of the fabric to kind of bind the edge) I went back over all of my exposed edges which stabilized the fabric a lot. Next time I’ll start doing that right from the beginning.
- Apparently lining can be bought separately. The yellow lining on the sleeves and robe I made by cutting strips of yellow and pressing them over the edges of the fabric. Next time I’ll buy it if I can.
- Stiff materials are not for beginners! Neither are cone shapes. The hat was an absolute nightmare because it combines both of those things. First off, I should have done the hat with more than one seam – probably two but preferably four. This would have eliminated a lot of the distortion I had to deal with when trying to pin the brim to the hat while inside-out. Also, for those circular shapes, it’s nearly impossible to pin them while perpendicular since the direction of the curve is reversed when the garment is inside-out. If I had pinned them in a more natural, relaxed cone shape and sewed them together like a sleeve I might have been able to avoid breaking three of my sewing needles. Luckily no fragments of metal flew into my face.
- Creating a pattern from scratch takes at least as much time as sewing, probably more because of all the measuring. Whenever possible I’m going to avoid doing this.
- Ironing fabric before sewing, which I started doing maybe halfway through the process, makes attaching pieces way easier and results in much crisper lines. It also made tracing the patterns onto the fabric and cutting them easier when the fabric was nice and flat.
- I should have given myself more time to complete this design, or picked something simpler. Every day during construction I was up until probably 3am working, which really sucked the fun out of it in the end. Things like this will have to be long term projects in the future.
I’m sure there’s more but I’m ready to close the books on this costume for now. Thanks for reading!
![]()

